Recording video for object detection with Python and OpenCV

In order to get training images for your live object detection problem you may want to record some video and collect the training images from the video itself later. In this brief article I will show you how you can record video from an IP camera for further processing with Python and OpenCV.
In my previous article I showed you how you can read video from an IP camera stream with OpenCV and Python. This time we will build upon that solution and record the video from the online stream for later processing.
First you need to open the IP camera’s video stream (remember to use you your own URL and credentials):
cap = cv2.VideoCapture('http://192.168.0.137:81/videostream.cgi?loginuse=&loginpas=&resolution=32')Then you will need an OpenCV VideoWriter object that will perform the saving of the video:
out = cv2.VideoWriter('recording.avi',VideoWriter_fourcc(*'MJPG'), 20, (frame_width,frame_height))The parameters for the VideoWriter are the followings:
- the output file name
- the FourCC code for the codec used for the video recording
- the fps (frames per seconds)
- the image size of the video
For other parameterization possibilities see the VideoWriter documentation.
Once you run the Jupyter notebook it will start recording the video until you hit the ‘q’ button. When the recording is stopped the video file will be available for you.
Choose the codecs wisely
Depending on your system and platform you can use different codecs for the video recording. Some formats are very much disk space consuming others are very special so may not be handled properly by the different video processors.
Unfortunately I could not find a way to list all available codes for OpenCV. Let me know in the comments if you know how to do so!
For comparing the different codecs I considered disk space usage only as I am planning to record hours of videos for catching birds on the videos and I don’t want the hard disk to be written full incidentally .
This table below contains the space required for a one-minute colored video with an images size of 640 x 480 at 20 fps.
+-----------+--------------------+---------------+
|   codec   |   FourCC code      | space required|
+-----------+--------------------+---------------+
|Motion JPEG| MJPG               | 92 Mb         |
| MPEG-4    | MP4V               | 39 Mb         |
| MPEG-2    | MP2V               | 40 Mb         |
| DivX      | DIVX               | 32 Mb         |
+-----------+--------------------+---------------+
As you see, from the compression perspective DivX performed the best, however I think I will stay with MP4 as that is more widely used nowadays. Of course, the size of the video is highly depending on the contents and the compression algorithms. For example for a keep changing scene and a static one the file sizes can be widely different.
Limit recording time
My other useful hint, especially if you work with long recording times, that you should work with fixed-length recording sessions. If you run your video recording in an endless loop (while True) it may happen that you forget about the recording and your disk is getting full again.
What I did in my code is that I defined a one-hour recording time window. This way when the recording time is passed the file is persisted and the recording stops.
...MAX_SECS = 60 * 60startTime = time.time()while True:
  currentTime = time.time()  if currentTime - startTime > MAX_SECS:
        break...
Resolution matters for small objects
Another pitfall I fell into is to try detecting too small objects on a poor resolution video. As mentioned multiple times in my series I want to detect birds in my garden. Can you spot the pigeon in the picture below?
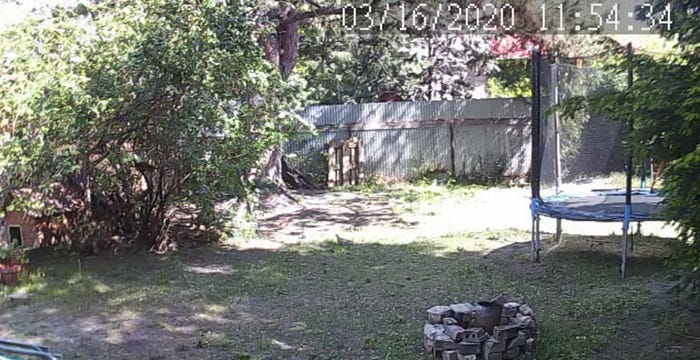
Yes. Birds seem to be too small to be detected at this video resolution. I have to either buy a better camera with better resolution and/or optical zoom or use someone else’s video to perform this task and give up detecting the birds in my garden :(
Thanks for reading through the article. As always, the code for the article can be found on github. Please feel free to add comments and check out my previous articles on object detection.
Next time I will show you how to collect training images from videos. In the meantime you can read my most popular article below.
Thanks for reading through the article. As always, the code for the article can be found on github. Please feel free to add comments and check out my previous articles on object detection.